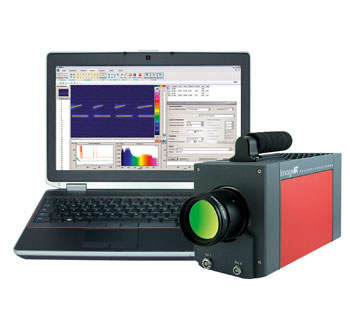
Active thermography is an imaging procedure and, in connection with high-resolution cameras, is perfectly suited for contact-free and non-destructive material testing. It allows for quick detection of material defects and opens up new possibilities in research, development and quality assurance.
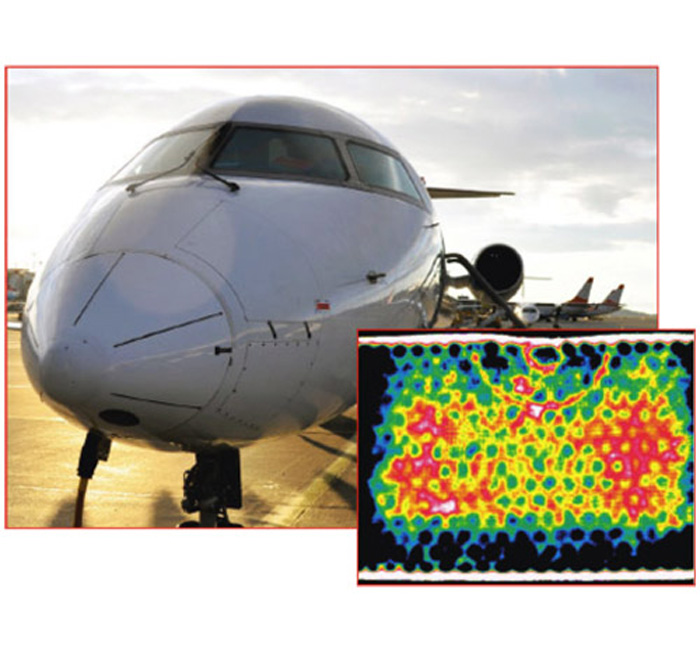
Active Thermography for non-destructive material testing
Active thermography is the induction of a heat flow by energetically exciting a test object. The heat flow is influenced by interior material layers and defects. These inhomogeneities can be captured on the surface by high-precision thermographic cameras. The additional application of different evaluation algorithms improves the signal-to-noise-ratio which allows for detection of smallest defects.
Modular System Design for Precisely Fitting Inspections
The versatile application options of active thermography require an elaborate configuration of every single inspection system. InfraTec offers a wide variety of necessary components along with a modular system architecture. The high-resolution cameras, efficient control and evaluation software as well as the continuously operable excitation sources and controllers are interchangeable within the system and therefore allow a flexible adaptation to upcoming requirements.
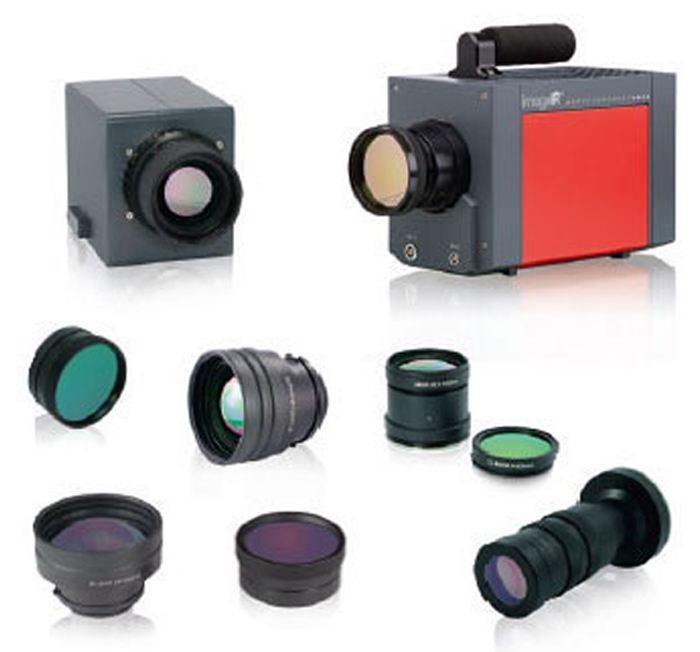
Thermographic cameras with highest precision
Cooled high-end cameras with fast photon detectors of the ImageIR® series and non-cooled microbolometer cameras of the latest VarioCAM® high resolution generation are used for active thermography. Geometric resolutions of up to (1,280 x 1,024) IR pixels and thermal resolutions far below 0.015 K are a precise technical basis for the detection of smallest material defects. High image acquisition frequencies allow for measurements of materials with high heat conductivity, such as metals. We also offer an extensive assortment of lenses and optics to image large test objects as well as microscopic structures.
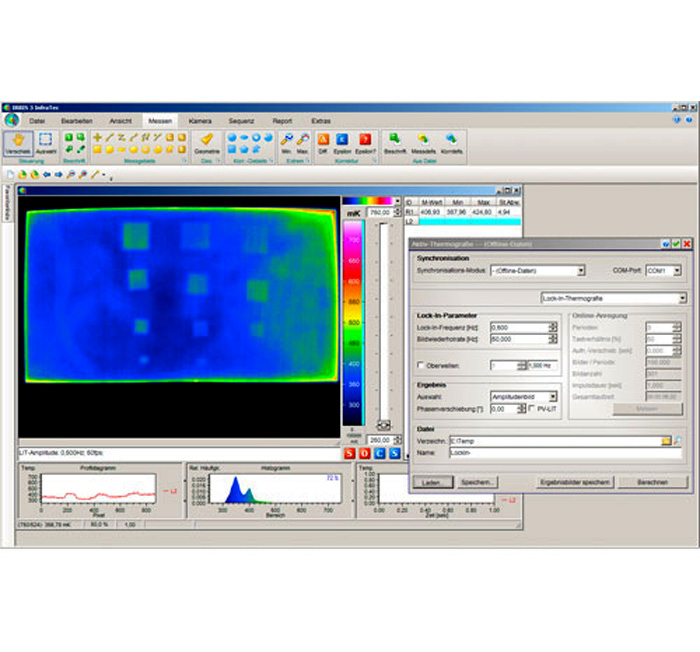
Efficient Control and Analysis Software f or Active Thermography
The thermography software IRBIS® 3 active analyses the thermo-graphic sequences, which have been generated during the test, and edits them to create a false colour image, in which defects can be marked for further evaluation or documentation. For this purpose, several different analysis procedures are available. The choice of the correct algorithm depends on the material characteristics, geometry and type of defects to be detected.
While the quotient method investigates the heat flow of the test object by reference to the increase and decrease of the surface temperature, the pulse-phase thermography (PPT) relies on the analysis of the temperature profile of different frequencies. For each frequency, two event images are generated, one amplitude- and one phase image. The lock-in thermography (LIT) analyses the sequence of periodic excitation of the test object.
Defect-specific excitation sources and controllers
Different types of defects of various materials can be detected by utilising specific energetic excitation units. InfraTec chooses the suiting excitation source, such as high-performance flashes, inductive units, hot- and cold air blowers and homogeneous halogen radiators, for the respective test situation.
Applications of Active Thermography
Active thermography is applied in most diverse manufacturing technologies for offline testing as well as inline testing of series production.
• Detection of layer structures, delaminations and inserts in plastics
• Detection in CFRPs of the automotive and aerospace industry
• Investigation of interior structures or impacts on honeycomb lightweight constructions
• Recognition of deeper material deficiencies, such as blowholes in plastic parts or ruptured laser welding seams
